| A | B | C | D | E | |
|---|---|---|---|---|---|
| 1 | Name | Age | City | Occupation | Gender |
| 2 | John | 25 | New York | Engineer | Male |
| 3 | Sarah | 30 | Los Angeles | Teacher | Female |
| 4 | Michael | 22 | Chicago | Student | Male |
| 5 | Emily | 22 | San Francisco | Doctor | Female |
12 Macro Recording
VBA provides a feature called Macro Recording that allows you to record your actions in Excel and generate VBA code based on those actions. This feature is useful for automating repetitive tasks or generating VBA code snippets that you can further customize.
To record a macro in Excel:
- Go to the
Developertab (if you don’t see theDevelopertab, you can enable it in Excel settings). - Click on
Record Macro. - Enter a name for your macro, choose where to store it (in the current workbook or in your Personal Macro Workbook), and assign a shortcut key if needed.
- Click
OKto start recording. - Perform the actions you want to record (e.g., formatting cells, copying data, etc.).
- Click on
Stop Recordingwhen you finish (you can find this option in theDevelopertab). - You can now run your recorded macro by pressing the shortcut key you assigned or by running it from the
Developertab.
When you record a macro, Excel generates VBA code that corresponds to the actions you performed. You can view and edit this code by going to the Developer tab, clicking on Visual Basic, and opening the VBA editor.
Normally, the recorded code is not optimized and may contain unnecessary lines or hardcoded values. You can refine the code by removing unnecessary lines, adding comments, and making it more flexible and reusable (e.g., by using variables and loops).
12.1 Example: Recording and Refining a Macro
In Listing 12.1, we have an example of a recorded macro that formats a table (see Table 12.1) in Excel.
To create this macro we:
- In the
Developertab, we clicked onRecord Macro. - Entered the name “FormatTable” and stored it in the current workbook.
- Assigned no shortcut key.
- Pressed
OKto start recording. - Clicked on cell “A1” from sheet “data”.
- Pressed Ctrl+Shift+Right to select all columns until the right-most column.
- Pressed Ctrl+Shift+Down to select all rows until the last row.
- Clicked on
Insert>Table. - Formated the table with style “White, Table Style Medium 1” (in
Table Desing>Table Styles). - Stopped recording (click on
Stop Recordingin theDevelopertab).
$A$1:$E$10, "Table1", "A1"), which can be replaced with variables for more flexibility.
Option Explicit

Sub FormatTable()

    Range("A1").Select
    Range(Selection, Selection.End(xlToRight)).Select
    Range(Selection, Selection.End(xlDown)).Select
    Application.CutCopyMode = False
    ActiveSheet.ListObjects.Add(xlSrcRange, Range("$A$1:$E$10"), , xlYes).name = "Table1"
    Range("Table1[#All]").Select
    ActiveSheet.ListObjects("Table1").TableStyle = "TableStyleMedium1"

End Sub
Access your VBA editor by clicking on Visual Basic in the Developer tab and open the module where the recorded macro is stored. In the recorded macro FormatTable, the code selects a specific range ($A$1:$E$10), creates a table, and applies a specific style (TableStyleMedium1). In Listing 12.2, we have a refined version of the recorded macro that uses variables for the range and table name, making the code more flexible and reusable.
To refine the recorded macro, we:
- Created a Sub-Procedure
FormatRangeAsTablethat takes two parameters:targetRange(the range to format) andtableName(the name of the table).
- Removed the hardcoded values and replaced them with the parameters
targetRangeandtableName. - Removed the lines that were selecting cells:
Range("A1").Select,Range(Selection, Selection.End(xlToRight)).Select, andRange(Selection, Selection.End(xlDown)).Select.
- Removed line
Application.CutCopyMode = False - Replaced
ActiveSheet.ListObjects.Add(xlSrcRange, Range("$A$1:$E$10"), , xlYes).name = "Table1"withtargetRange.Worksheet.ListObjects.Add(xlSrcRange, targetRange, , xlYes).name = tableName. Every range is associated with a worksheet, so we can retrieve this worksheet usingtargetRange.Worksheetinstead of usingActiveSheet. - Replaced
Range("Table1[#All]").SelectwithtargetRange.Worksheet.ListObjects(tableName).TableStyle = "TableStyleMedium1.
FormatedTable is used to create the table (you can see this name in the Excel sheet at the top left corner of the table).
'Modified version where the table range and name are parameters
Sub FormatRangeAsTable(targetRange As Range, tableName As String)
    targetRange.Worksheet.ListObjects.Add(xlSrcRange, targetRange, , xlYes).name = tableName
    targetRange.Worksheet.ListObjects(tableName).TableStyle = "TableStyleMedium1"
End Sub

'Sub to test the procedure `FormatRangeAsTable` passing a range and a table name.
Sub ExampleFormatRangeAsTable()
    FormatRangeAsTable Range("$A$13:$E$23"), "FormatedTable"
End Sub
To test the refined macro, you can run the Sub-Procedure ExampleFormatRangeAsTable from the VBA editor. This Sub-Procedure calls the FormatRangeAsTable procedure, passing the range $A$13:$E$23 and the table name "FormatedTable". This new range contains a copy of the original data, so you can test the formatting without affecting the original table.
12.2 Exercises
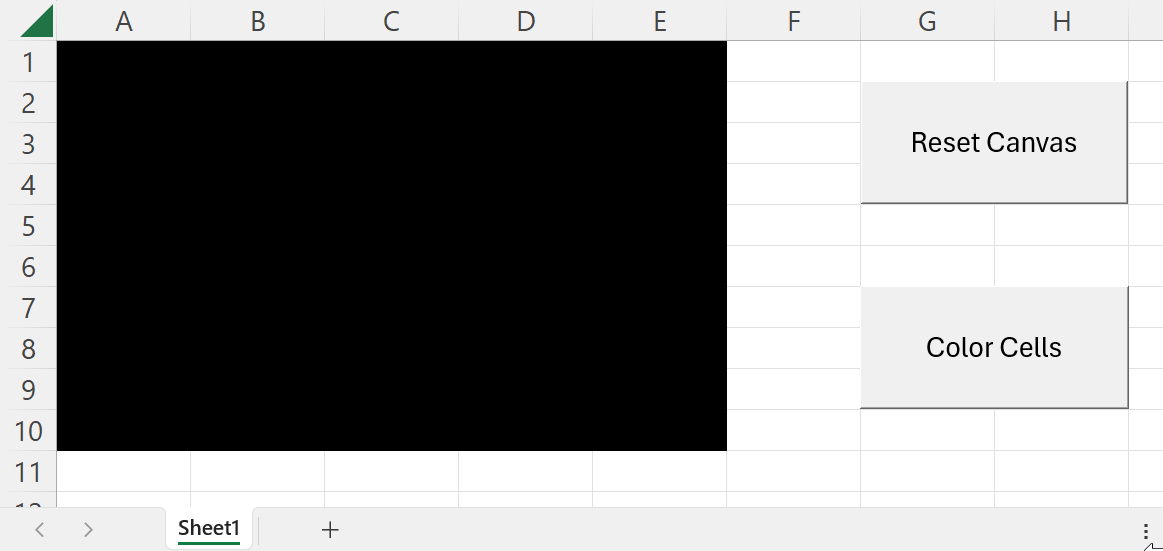
12.2.1 Coloring Cells
Create the app show in Figure 12.1. Use macro recording to create two macros:
- A macro that changes the fill color of a single cell.
- A macro that clears the fill color of a single cell.
Then, refine the recorded macros to create two Sub-Procedures:
FillCells()that fills a range of cells with a specific color.ClearCells()that clears the fill color from a range of cells.
Finally, create two buttons in the Excel sheet to call each Sub-Procedures when clicked.